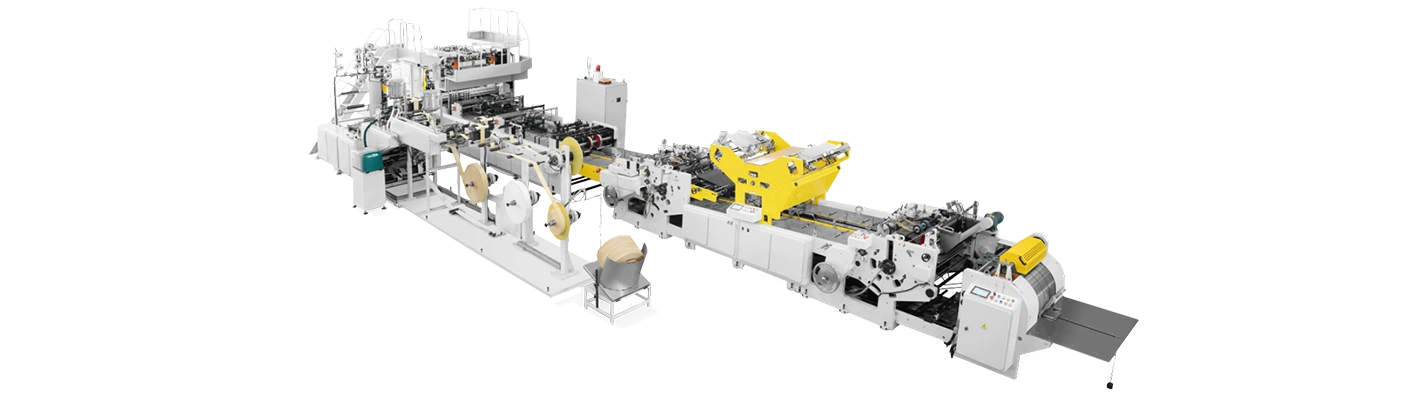
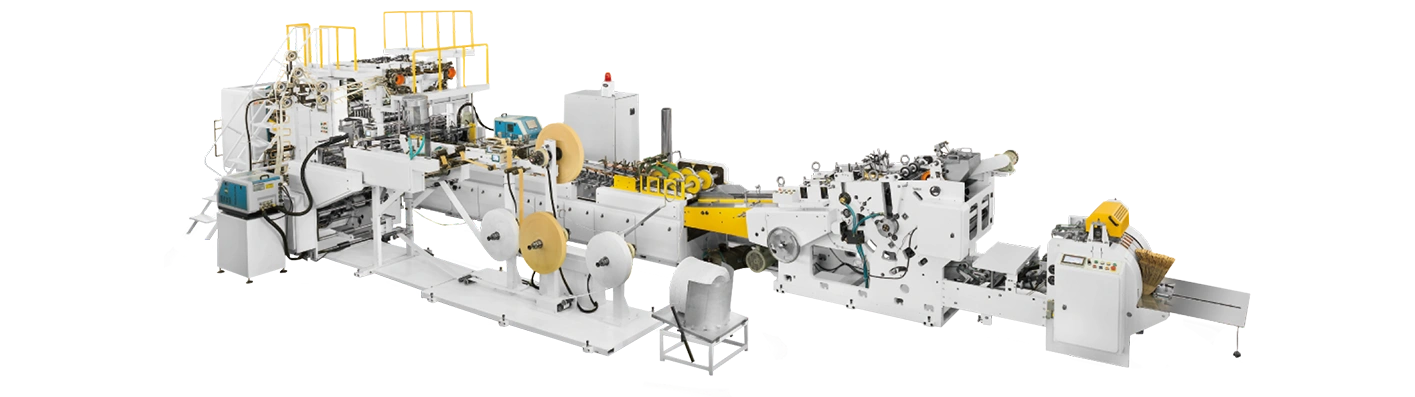
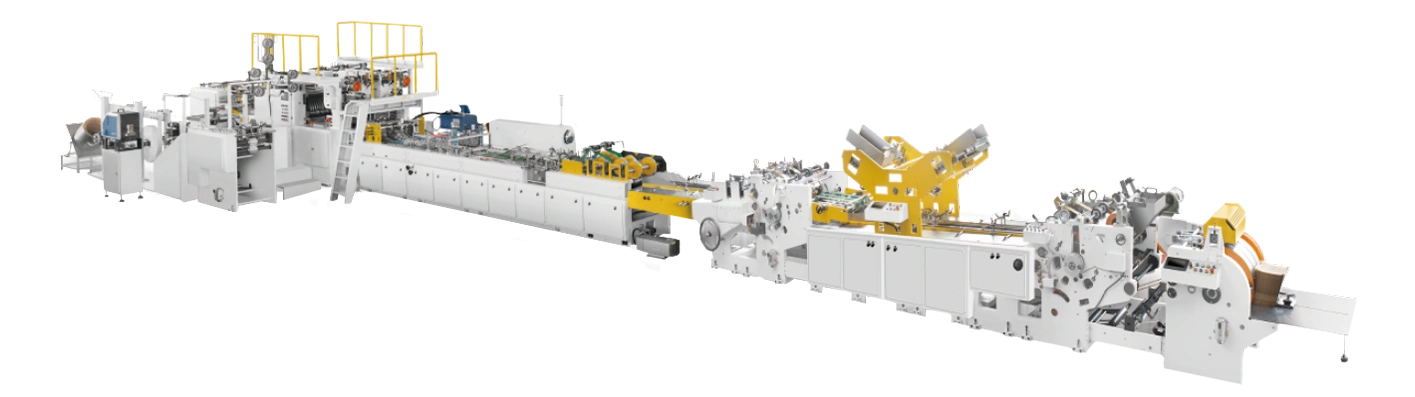
You have been running your paper handle paper bag making machine for a few hours, and then you notice it. The handles on the finished bags are not centered. Some are shifted to the left. Others sit at different heights. A few look like they might pull out the moment someone puts weight in the bag.
Handle misalignment is one of the most frustrating issues you can face on a fully automatic paper bag machine. It does not just create ugly bags. It creates unusable bags. Every misaligned handle means material wasted, time lost, and orders delayed. And because the problem often starts upstream—sometimes several stations before the handle is even inserted—it can take hours to track down if you do not know where to look.
This guide walks through the most common causes of handle misalignment on a paper handle paper bag making machine and gives you practical, step-by-step solutions you can apply on the shop floor today.
Why Handle Misalignment Happens: The Cascade Effect
Most operators make the same mistake when they see misaligned handles. They assume the problem is at the insertion station, so that is where they start looking. They adjust the pushers, tweak the press plates, and run test bags. Sometimes it works. Often it does not.
The reason? A paper handle paper bag making machine is a sequence of interconnected stations. A problem that shows up at the handle insertion point may have started two or three stations earlier. The pre-punching station cuts the holes. If those holes are slightly off-center, the handle insertion module will put the handle through the hole—but the handle will not be centered on the bag. The misalignment was baked in before the handle ever reached the insertion point.
This cascade effect is the single most important concept to understand when troubleshooting a paper bag making machine. You are not looking for the place where the bag looks wrong. You are looking for the place where the process first went wrong. Fix the root cause, and the symptom disappears.
Common Causes of Handle Misalignment and How to Fix Them
1. Sensor Contamination or Misalignment
Modern paper handle paper bag making machines rely on photoelectric sensors to coordinate timing between stations. These sensors detect the position of the paper web, the pre-punched holes, and the handle blanks. When a sensor lens gets dirty—paper dust, glue mist, or general shop-floor grime—it sends inconsistent signals. The machine's control system tries to compensate, and handles start drifting off-center.
What to check: Clean the registered photocell lens with a soft, lint-free cloth. Look for any reflective residue that might be confusing the sensor. Also verify that the sensor is positioned correctly and has not been knocked out of alignment during maintenance or cleaning.
What to do: If cleaning does not resolve the issue, check the sensitivity settings on the control panel. Adjust gradually and run test bags between adjustments.
2. Pre-Punching Station Tolerances
The holes that accept the handle are cut at the pre-punching station. If the punch is worn, if the die gap is incorrect, or if the hole position drifts, every subsequent station will try to compensate—and fail.
What to check: Measure the hole diameter on the punch itself, not on the finished bag. The hole should match the rope diameter within the manufacturer's specified tolerance. A hole that is too large reduces friction around the anchor point. A hole that is too small tears the paper fibers during insertion, weakening the entire handle attachment.
What to do: Set the die gap to the allowable tolerance range for your rope diameter. If the punch is worn beyond specification, replace it. Also verify that the pre-punching station is synchronized with the pocket cycles through the phase encoder. If the timing is off, the holes will be cut in the wrong position.
3. Left and Right Insertion Module Synchronization
If your paper handle paper bag making machine uses separate left and right insertion modules, they need to be mechanically synchronized. When one module is slightly ahead of the other, handles come out uneven—higher on one side, lower on the other.
What to check: Verify that the left and right insertion modules are mechanically placed together and timed correctly. Look for wear in the guide rails or loose mounting hardware.
What to do: Re-synchronize the modules according to the machine manual. This typically involves adjusting mechanical linkages or updating timing parameters through the control panel.
4. Deviation Control System Issues
The deviation control system keeps the paper web running straight through the machine. If this system fails, the entire paper path drifts. The pre-punching station cuts holes off-center. The handle insertion station aligns to the wrong position. Misalignment follows.
What to check: First, verify the polarity setting on the deviation control system. If the system is adjusting in the wrong direction, changing this setting through the control panel usually resolves the issue. Next, check the automatic gain—if it is set too high, the system overcorrects and creates instability.
What to do: Adjust the gain value gradually until you find a balance between precise correction and stable operation. If the problem persists, check cable connections and sensor function.

5. Glue Station Temperature and Coverage Issues
The reinforcement patch that secures the handle needs proper adhesive coverage to stay in place. If the glue temperature is too low, the adhesive does not wet out properly. If the glue pot temperature fluctuates, coverage becomes inconsistent. The handle may appear aligned when it leaves the machine but shift during drying or fail under load.
What to check: Run a temperature check at the glue station. Verify that the glue pot stays within the recommended working range. Also check for white spots on the glue coverage—these indicate that the adhesive's opening time expired before the patch was pressed.
What to do: Stabilize the glue station temperature. If you see inconsistent coverage, adjust line speed or station timing to ensure the patch is pressed while the adhesive is still active.
Preventive Maintenance: Stopping Misalignment Before It Starts
Fixing handle misalignment is essential, but preventing it is better. A regular maintenance routine for your paper handle paper bag making machine catches small problems before they become expensive production stoppages.
Clean sensors daily. Photocells and optical sensors collect dust and glue mist throughout the shift. A quick wipe at the end of each shift prevents signal drift.
Inspect the pre-punching station weekly. Check punch wear and die gap. Replace punches before they cut oversized holes.
Check guide rollers and rails weekly. Paper dust and adhesive build up around guide roller edges. Clean with a dry cloth or low-pressure air—never use strong detergents on rubber rollers.
Verify twist spindle clearance quarterly. The gap between the rotating member and fixed guide rail was set during installation. Measure it against the manufacturer's specifications every three months, or immediately if you notice changes in rope consistency.
Monitor glue station temperature continuously. Temperature fluctuations are a leading cause of patch failure. Install a reliable temperature gauge and check it regularly.
Document adjustments. When you correct a misalignment issue, record what you changed and why. This builds a troubleshooting history that helps you spot patterns and prevent recurrences.
When to Call for Help
Not every alignment issue can be resolved on the shop floor. If you have worked through the steps above and handles are still drifting off-center, it may be time to bring in technical support.
Complex issues—like servo drive synchronization problems, controller failures, or structural wear in the machine frame—require specialized diagnostic equipment and experience. Continuing to run the machine with unresolved misalignment only creates more waste and can cause additional damage to downstream components.
Summary
Handle misalignment on a paper handle paper bag making machine is rarely a simple problem, but it is almost always solvable. The key is understanding that the symptom you see at the insertion station usually started somewhere else.
What to take away:
-
Start your diagnosis at the pre-punching station—measure hole diameter and position
-
Clean photoelectric sensors daily—dust and glue mist cause signal drift
-
Verify deviation control system polarity and gain settings
-
Check left and right insertion module synchronization
-
Stabilize glue station temperature for consistent patch adhesion
-
Document every adjustment—patterns reveal root causes
Need Help Getting Your Paper Handle Paper Bag Making Machine Back on Track?
Every production line is different. The paper stock you run, the handle types you produce, and the bag sizes you need all affect how your machine performs. If you are still dealing with handle misalignment after working through this guide, our technical team can help.
Whether you need on-site support, spare parts, or just a second opinion on your troubleshooting approach, reach out. We have helped paper bag manufacturers across the world get their production running consistently.
[Contact Us] – Tell us about your paper handle paper bag making machine, the symptoms you are seeing, and what you have already tried. We will get back to you with practical next steps.